Configure Audit Database
All consent received through web forms, emails or those that are created manually must be maintained in the form of individual records within a defined database also known as the Consent Database. This is a mandatory requirement by all regulatory bodies.
Consent records need to be maintained for a period of 4 years from the date of its creation.
Consent records are created based on two mandatory parameters, namely, phone numbers and Sender ID.
To send a text message, you need to define a default phone number. All messages sent from this phone number will be considered for creating the consent record.
While configuring the consent database there are two things that you need to define:
- Consent Record Parameters
- Methods of Input
Consent Record Parameters
The Sender ID is another important parameter that needs to be defined in order to create consent records.
Sender IDs indicate the sender address. It could be a name, number or a combination of both and displays on the recipient’s mobile device under the “From” address.
Consent sent from two different Sender IDs will be included as separate consent records. When you are combining phone number and Sender ID as the consent record parameter, both should be unique to create a unique consent record.
Consent records can also be recorded based on the Content-type. This is used by teams like marketing, sales, service, and others, to pursue their individual marketing requirements. Content types, like event notifications, email alerts, job notifications, service reminders and so on, can be designed for special events or campaigns run and managed by these teams.
The advantage of defining content types as a parameter for collecting consent is that you can define keywords specific to that content type. Therefore, when consent is revoked on one specific content-type you can still reach out to customers with other content-type messages.
Any change in consent status requested by customers should be tracked and recorded as part of an audit history. This can be viewed on the record detail page. It is also available as an independent object and can be viewed on the SMS-Magic Converse main menu.
You can define consent record parameters in four possible combinations. The table shown below explains each of these combinations.
| FIELD | DESCRIPTION |
|---|---|
| Mobile Number | When you enable mobile number as a parameter to create consent records, all consent will be accepted only when responses are received through the mobile number the customer provides. This is a mandatory parameter and will have to be included in every combination. When you define mobile number as the only parameter, consent will be accepted irrespective of the Sender ID it is sent from. |
| Mobile Number and Sender ID | When you enable these two parameters, consent will be registered when responses are received from the registered mobile number of the customer and from the Sender ID specified . |
| Mobile Number and Content Type | When you enable these two parameters, consent records will be registered when responses are received from the registered phone number and for a specific Content-type sent to the customer. Content-type refers to a specialized content sent to the customer. For example, Promotions, Notifications and so on. |
| Mobile Number, Content-type and Sender ID | When you enable these parameters, consent records will be registered against responses received from the defined mobile number of the customer, for a specific Content-type, and displaying the specified Sender ID. |
Methods Of Input
Consent is captured through text messaging, paper forms, emails or web forms. All these varied methods of input can be categorised under three broad heads. These are as follows:
Mobile – You can print the mobile numbers on billboards, posters or print ads in order to encourage customers to share their consent for receiving updates on your products and services. When customers send in their consent through these numbers, the input source is recorded as Mobile.
Online – All Web forms or partner sources sending in new lead information are considered as valid sources for collecting consent. However, it is recommended that you provide explicit instructions to customers to perform a specific action (like selecting a checkbox or clicking a Submit button) in order to submit their consent. Once submitted the database can record the input source as Online.
Offline – All physical forms like contracts or other paper forms can also be used to collect consent requests. Even for physical forms, you need to mention the specific action the customer needs to perform in order to send in their request. All requests collected through paper forms need to be added in the consent database with its input source as Offline.
Consent once captured in the consent database needs to mention the input source that has been used to collect it. Create a Comments field in the Consent object that will capture information on the input source for collecting the consent.
Similarly the lead or Contact object record also needs to be updated with a custom field that will comprise details on how the record is being created. This is a recommended practice for maintaining the audit details.
To Setup Consent Database
- Under Setup Consent Database, select the relevant parameters to define consent record.
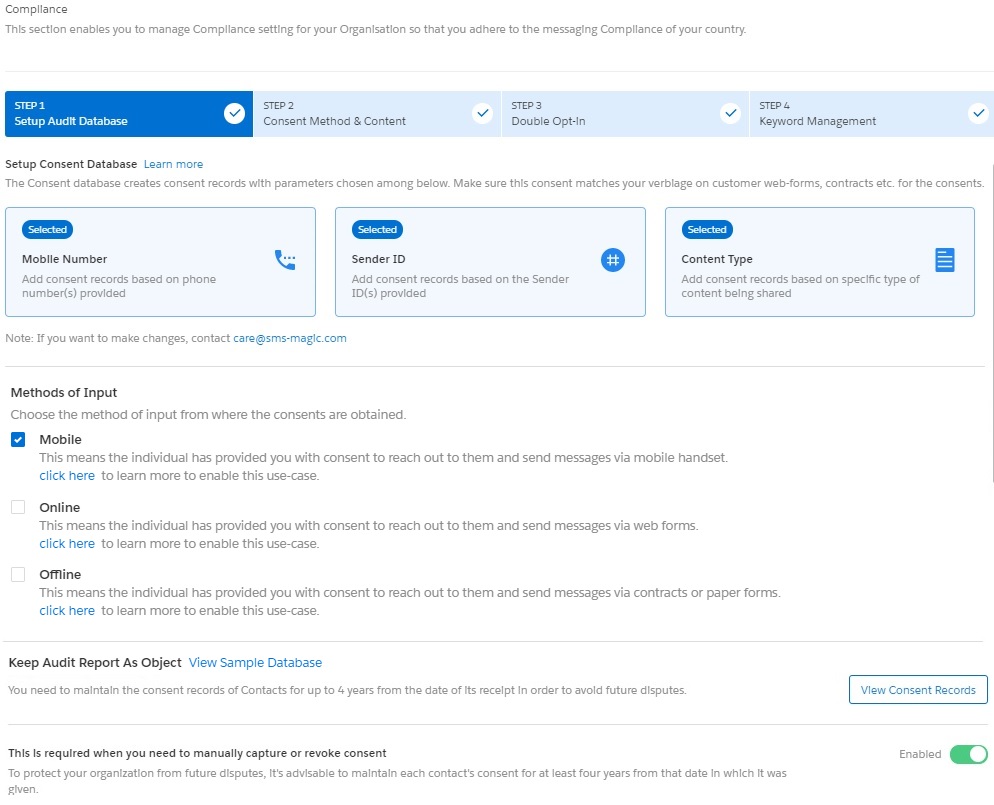
- Enable the This is required when you need to manually capture or revoke consent option if you want to allow agents to add consent records manually.
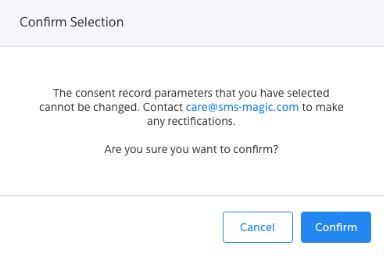
- The confirmation dialog box appears informing you that once saved you cannot change the selected record parameters.
- Click Confirm. The record parameters are updated.
- Click Next.
0 Comments